BWH-CCDS Data Science Pathway Resource Website
An entry-level resource for Data Science in Radiology
Project maintained by wfwiggins Hosted on GitHub Pages — Theme by mattgraham
Introduction to the Command Line Interface (CLI)
01 Jun 2019 - Walter Wiggins
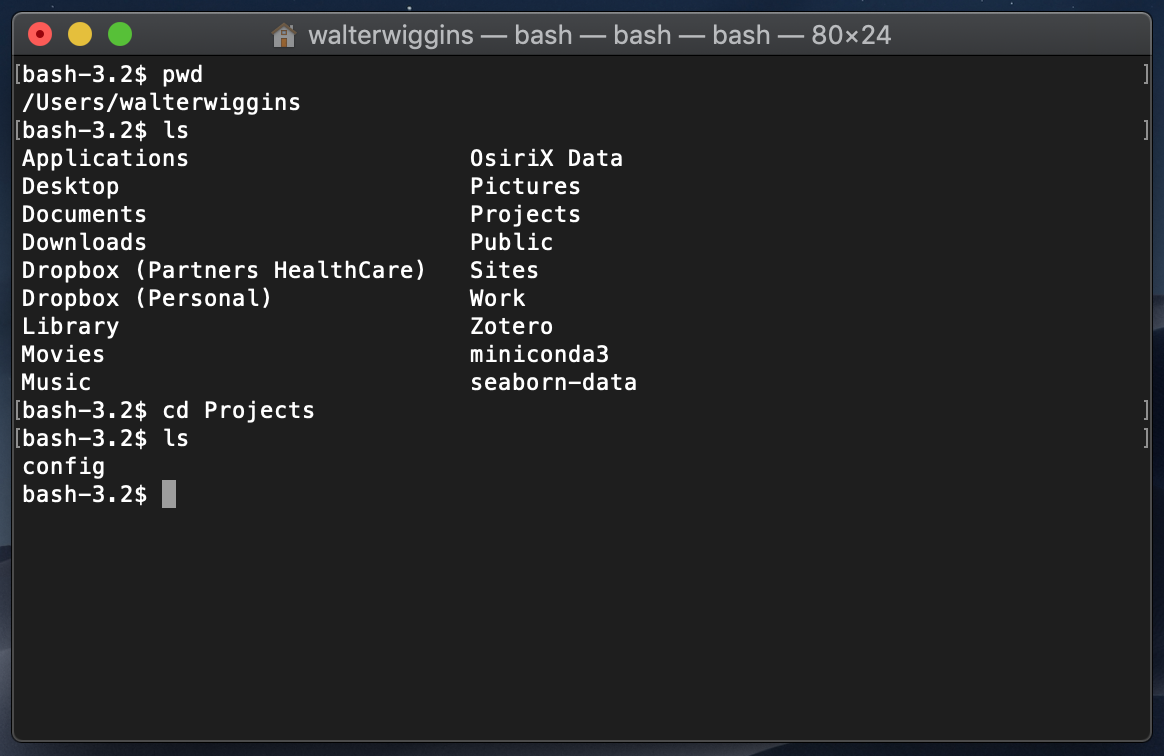
Before you dig into Python and get to working on your algorithms, I highly recommend that you get familiar with the command line (variably referred to as the terminal or shell, though there is a distinct difference between each of these terms). If you’ve followed our Setup Guides, then you should already be somewhat familiar with the process of running some basic commands in the terminal. Either way, we’ll start with some basic shell terminology and functionality.
Terminology
- Terminal
- technically, a terminal emulator, this is the command line interface or CLI - the window to the shell
- Shell
- the program that runs in the terminal allowing you to interact with and manipulate files
- each shell has its own functions, but there are many common functions and the language is mostly standardized (POSIX standard for Unix-based operating systems)
- Commonly used shells include:
- sh: a basic, lightweight shell
- bash: the Bourne-again shell, the most widely used shell
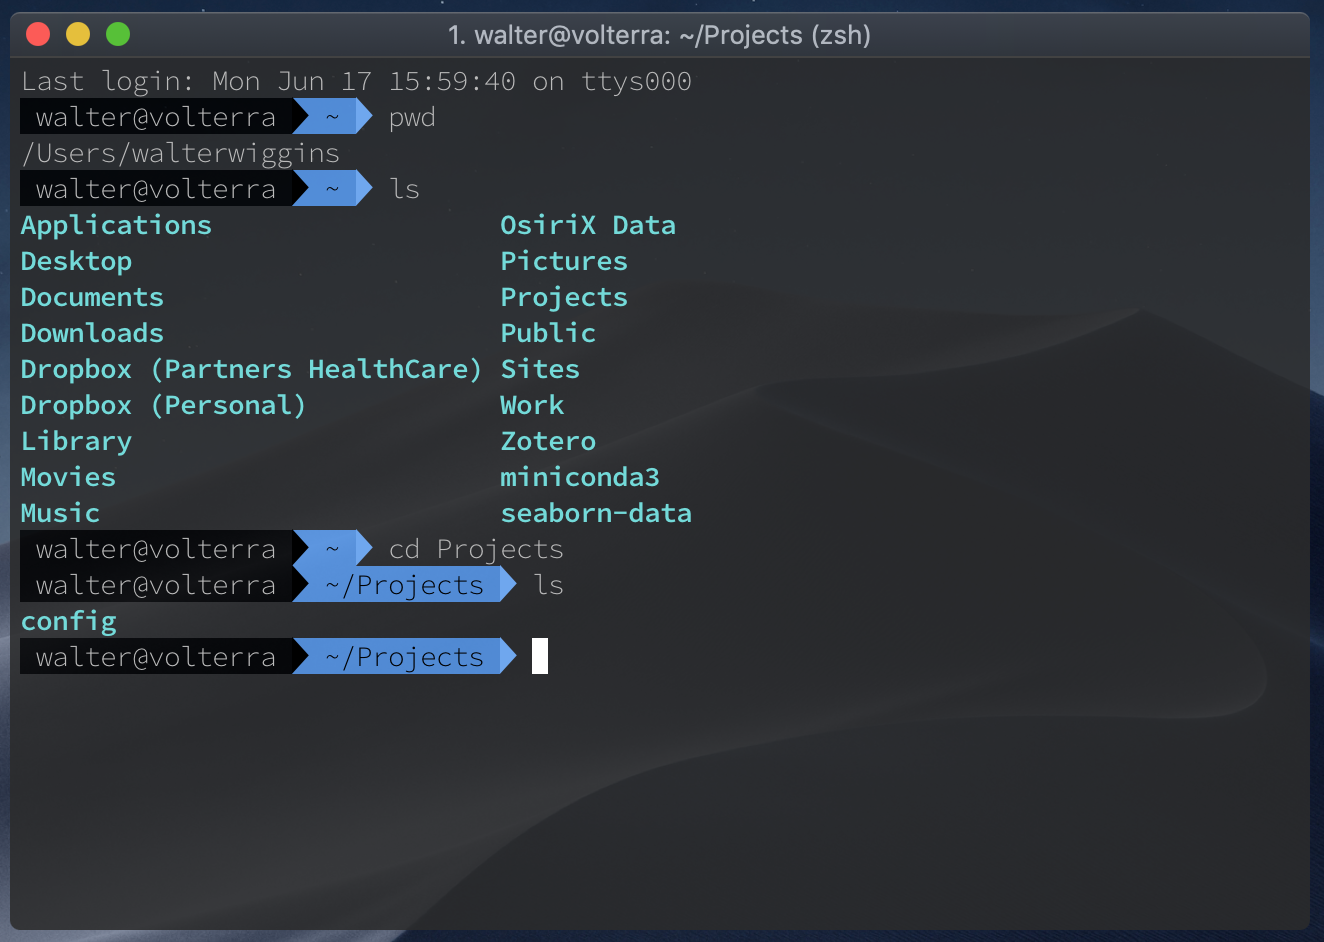
- zsh: the Z shell, added functionality and customization geared toward increasing productivity -> my preferred shell
- Scripts
- short programs that are written in the shell language and run from the command line
- Process
- a running program. Every program running on your machine right now has at least one process associated with it.
- Dotfiles
- files with names like `.bashrc`, `.zshrc`, or `.tmux.conf` that primarily serve as configuration files for the shell and its utilities. Most of these will live in your home folder `/Users/walter` on MacOS or `/home/walter` on Linux, both of which have the shortcut `~`.
- Directory
- a.k.a. folder; contains files
- stdout
- i.e. standard output; what prints to your terminal when a command or script is executed
Purpose of the shell/CLI
The shell is a phenomenal tool for working with and managing files that are
predominantly composed of text. These include *.txt, *.csv, and *.html
files, in addition to Dotfiles and files without extensions, among many other
file types. The shell is also really useful for managing processes and working
on remote systems, such as servers.

Due to the ability to work directly and efficiently with text files, the shell is a critical tool for developers and data scientists. Basically, anyone regularly writing and running code could benefit from becoming more familiar with the shell. Given its ubiquity in the tech world, there are plenty of great tutorials out there that can help introduce you to the glories of the Command Line.

The tutorial I link to below is one of the more succinct introductions that should help you get started. However, it’s very easy to get stuck in the proverbial “Tutorial Hell”. So we won’t beat around the bush here.
One advantage of this tutorial is that you can run the shell code via the terminal emulator provided on the website. However, I recommend you try to get these scripts running in your own terminal.
Note: As defined above, shell scripts are text files of shell code that can
be run in the terminal with any output printed to the stdout of the shell. One
way to create and run your own script is to run the following code. The structure
or syntax of these commands is command --options arg1 arg2. You may not always
use options or arguments (args) and some commands like chmod have special
syntax for options.
# Comment: this command creates a new file named 'script.sh' in the current working directory (cwd)
$ touch script.sh
$ ls  # list the files in the cwd, you should now see 'script.sh' among these
$ chmod +x script.sh  # gives the current user execute permissions for the file
$ nano script.sh  # open the file with the nano text editor (can use atom command for Atom)
# transcribe the code from the tutorial into the file and save
$ bash script.sh  # runs the script
Learn Shell Interactive Tutorial: Proceed to the linked page and complete each exercise under “Learn the Basics”.
After you complete this tutorial, check back for the next Command Line post, where we’ll download some data for an intro to Machine Learning in Radiology and use shell functions & scripts to rename and move files into a more convenient directory structure before we move on to implement our first algorithm.